This part is about using HTML to create a UI. I'm mentioning Visual Studio Code in the title since I'll be using VS Code to write the HTML code. You can download Visual Studio Code from here.
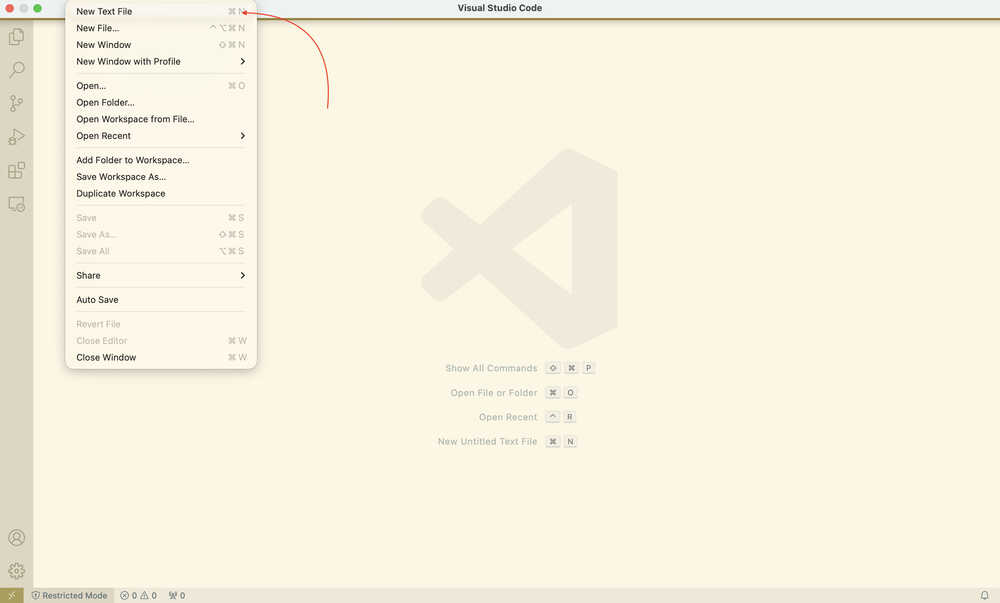
After clicking "File", you can open a new page from here.
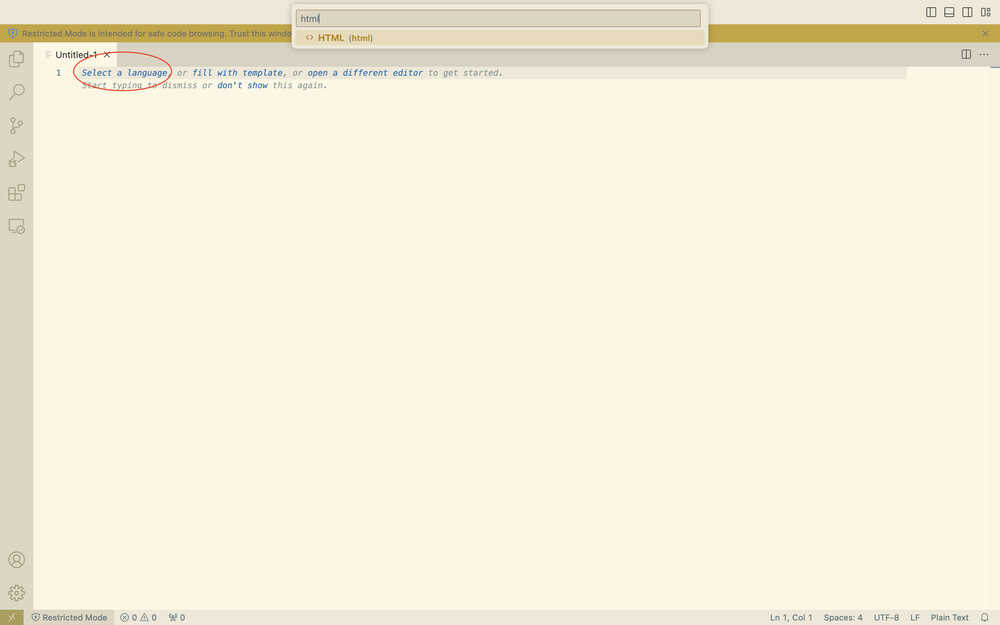
You can click "Select a language" to select HTML as the writing language; although this is not mandatory, it'll help with finding bugs etc.
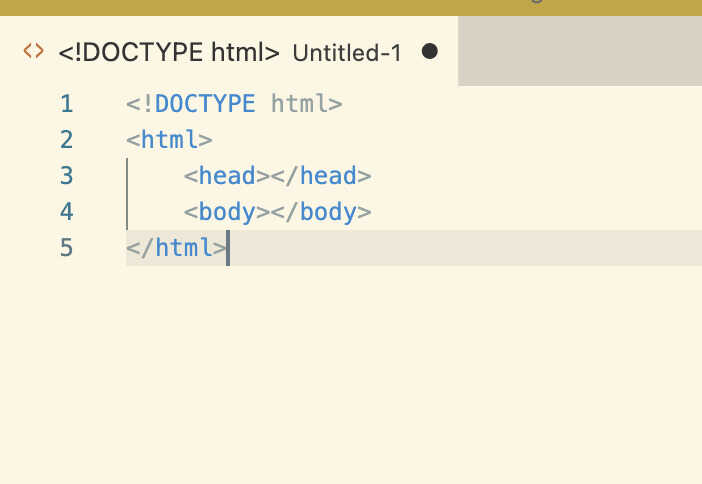
You can start by writing "head" and "body". The body is the main content part of the HTML, while head contains things such as style etc.
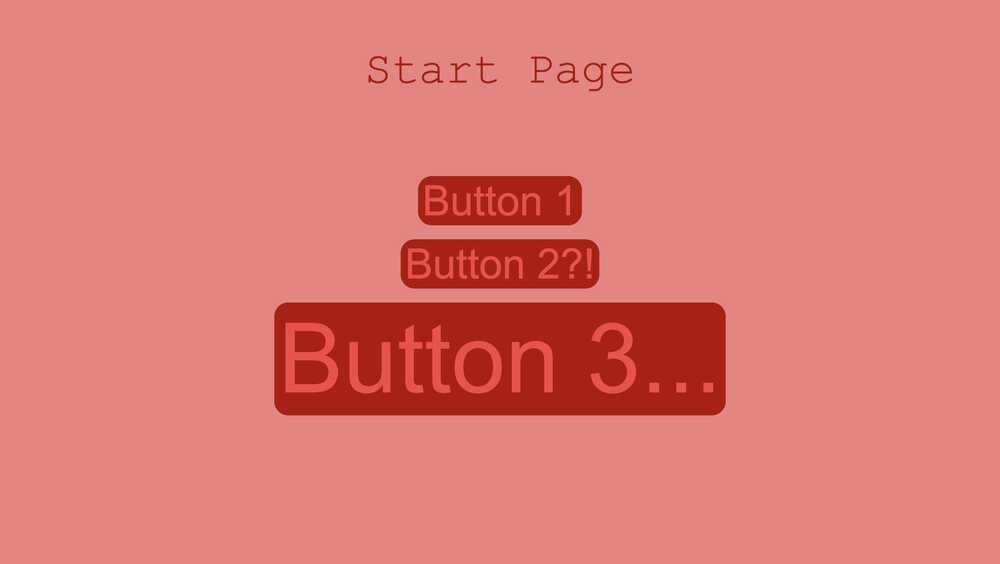
I wrote these into the body, which basically means that there's a light coral colored background, a title with the text "Start Page", and three buttons with no current onclick effects (which is basically what happens when you click the button).
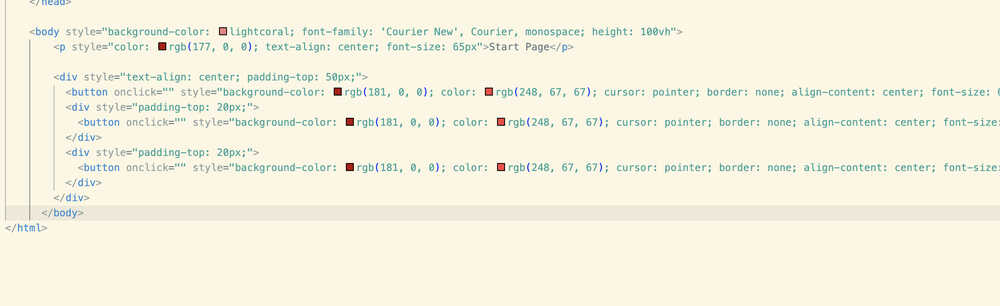
The full button is this: `<button onclick="" style="background-color: rgb(181, 0, 0); color: rgb(248, 67, 67); cursor: pointer; border: none; align-content: center; font-size: 60px; text-align: center; border-radius: 20px;">Button 1</button>` I wrote this since I couldn't get the full code of the button into the photo.
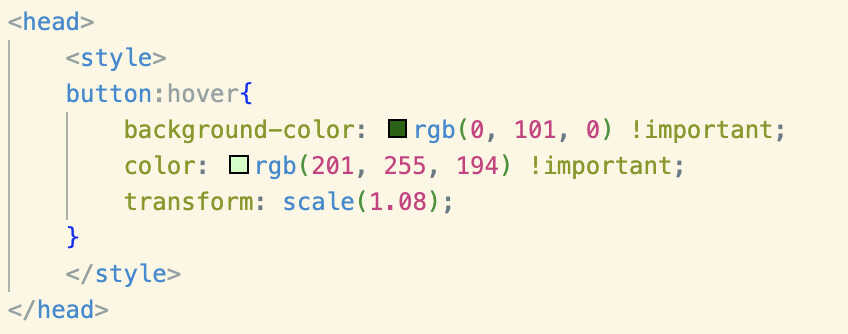
This is what I added to the head, which is basically how the buttons'll look once a mouse is hovered on them.
This is how the UI looks like.
App Inventor is something that helps you build apps by using blocks etc. To use App Inventor, after opening this site, click the "Create Apps!" button at the top left corner of your screen.
From here, there are two main parts you'll use to design your app. The "Designer" part, and the "Blocks" part. From the designer part, you'll design how your app'll look, while, from the blocks part, you'll set the interactions between things.
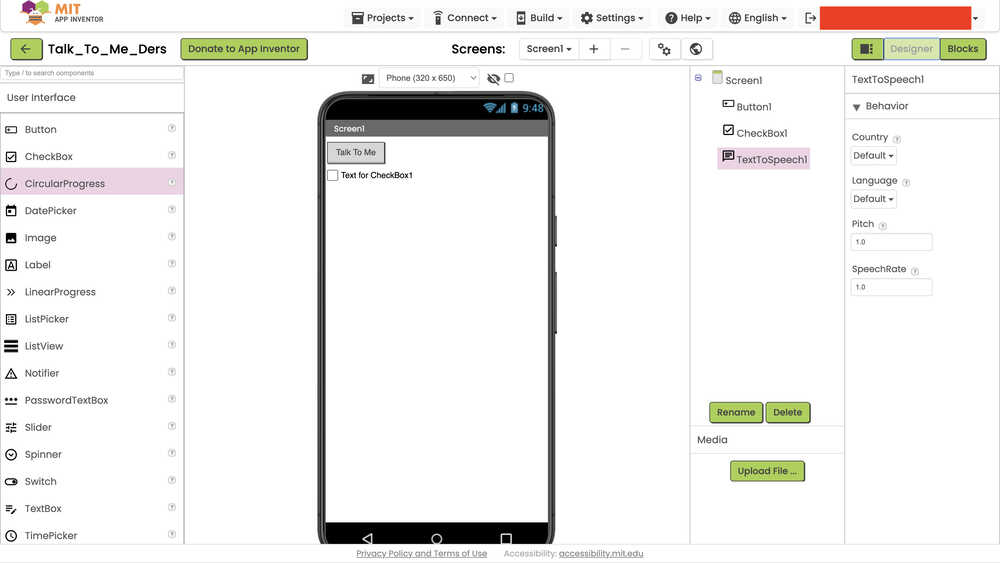
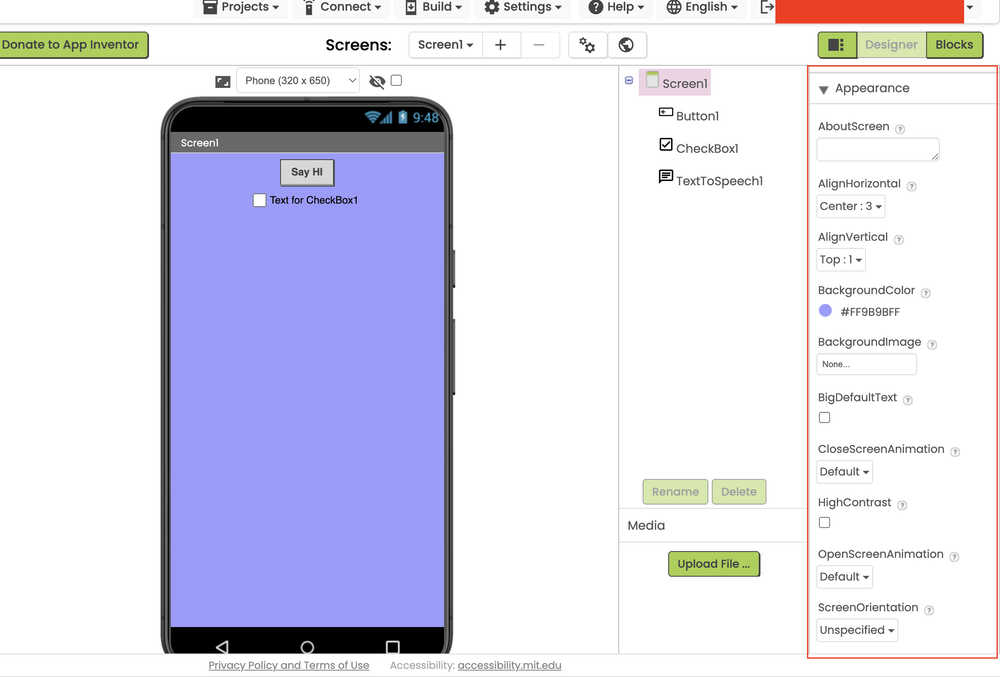
From the right part, you'll be able to set the appearance, size, font, text etc. of the thing you selected.
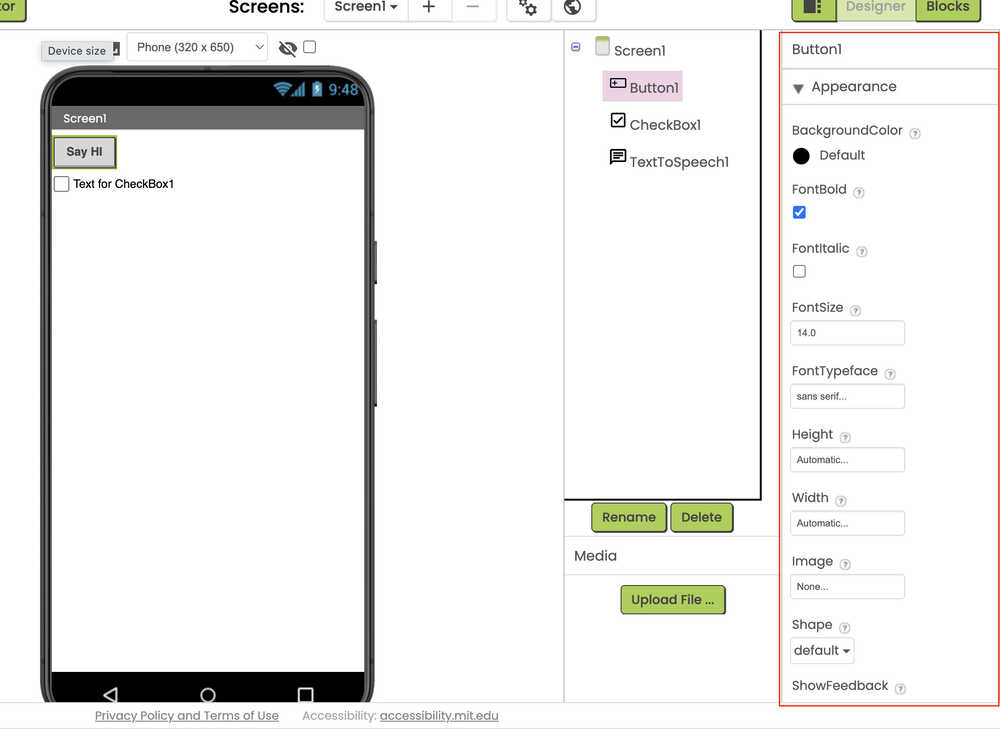
After selecting the screen itself, you can edit the main properties of the screen (such as whether to align things to the middle, the background color etc.) from the right side.
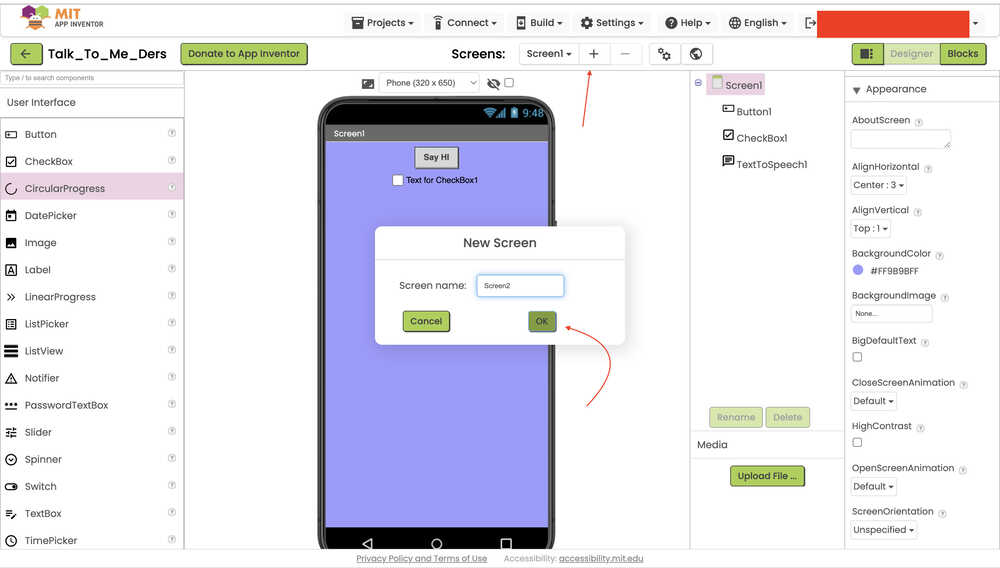
You can add another screen from clicking these buttons.
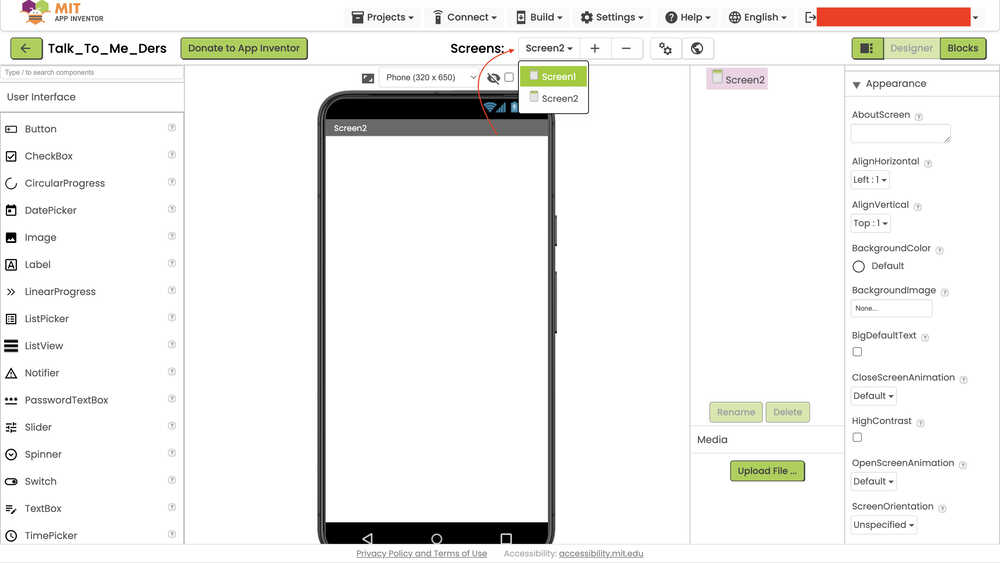
You can alter between screens from this part.
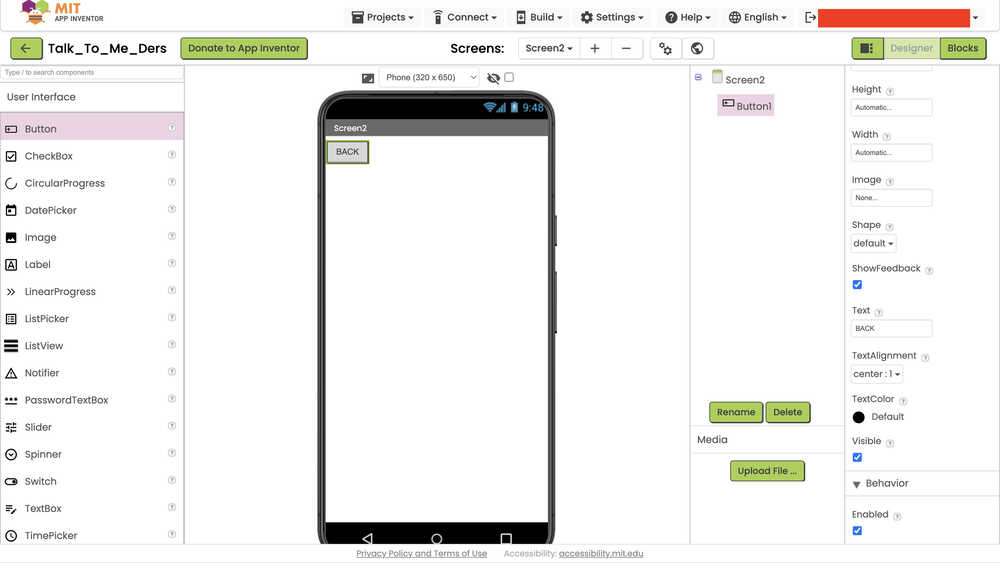
I added a button with the text "BACK" written. Now, I'll configure the interactions between the buttons etc.
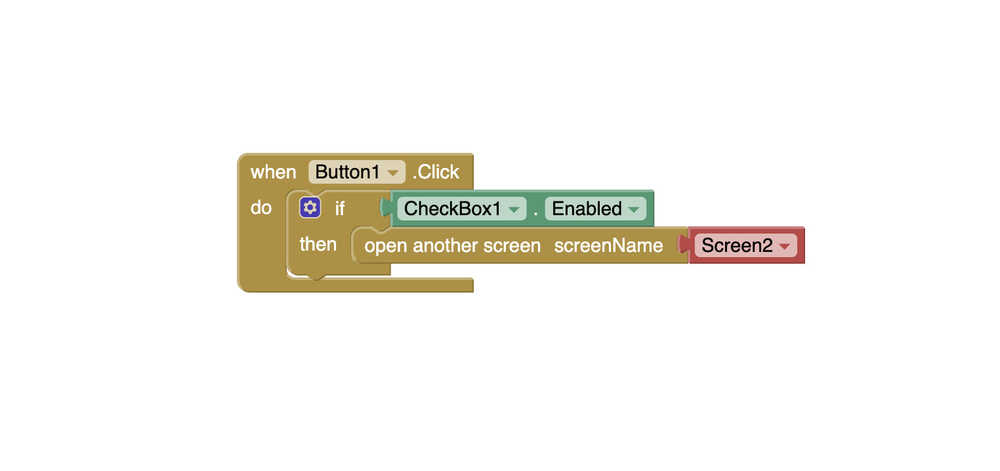
This code block makes it so that, when the button is clicked, if the checkbox is enabled, the page switches to Screen2.
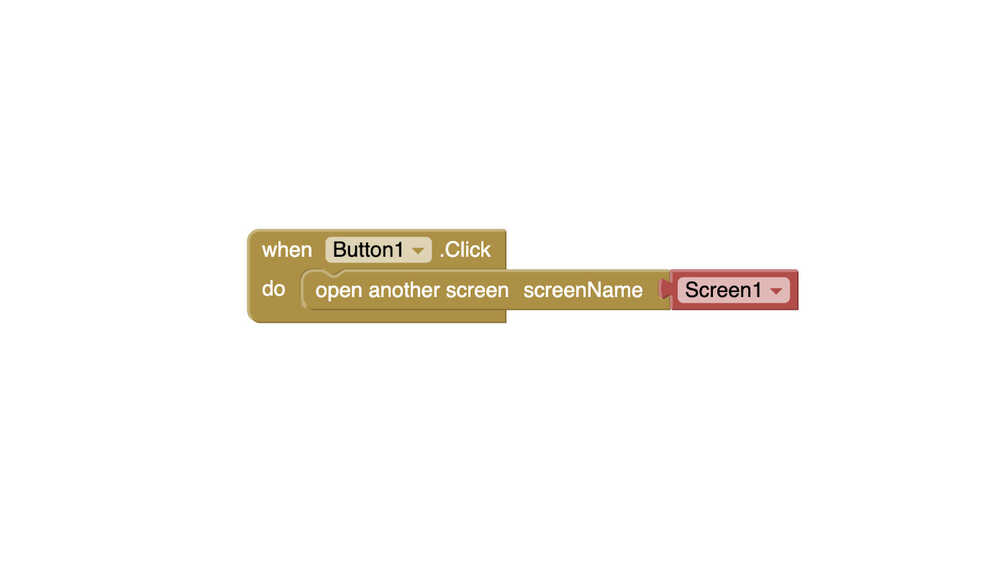
This code block makes it so that the screen switches to Screen1 when the BACK button is clicked (I added this to the Screen2's code block part, while I added the other to Screen1's code block part).
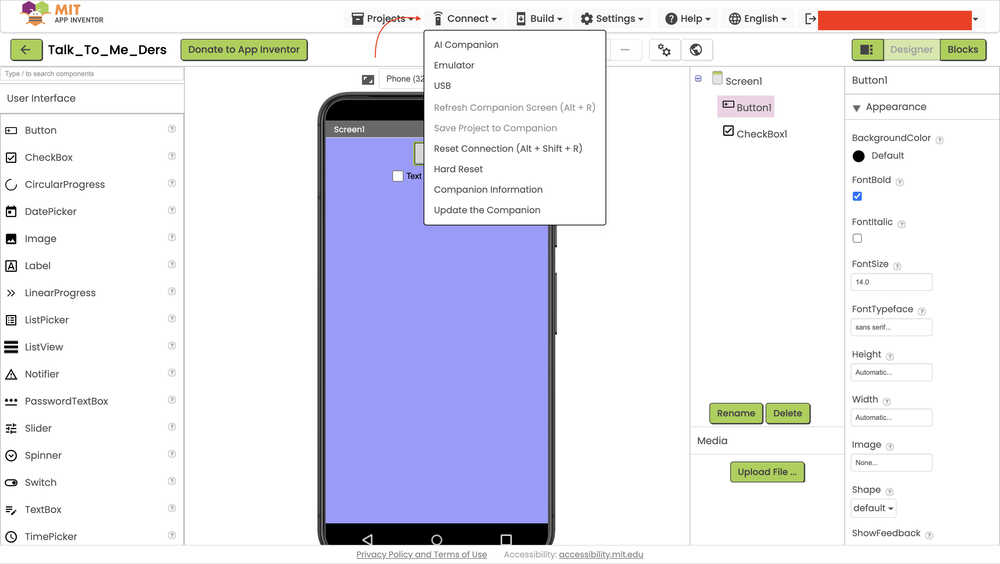
You can test your app from the "Connect" section.
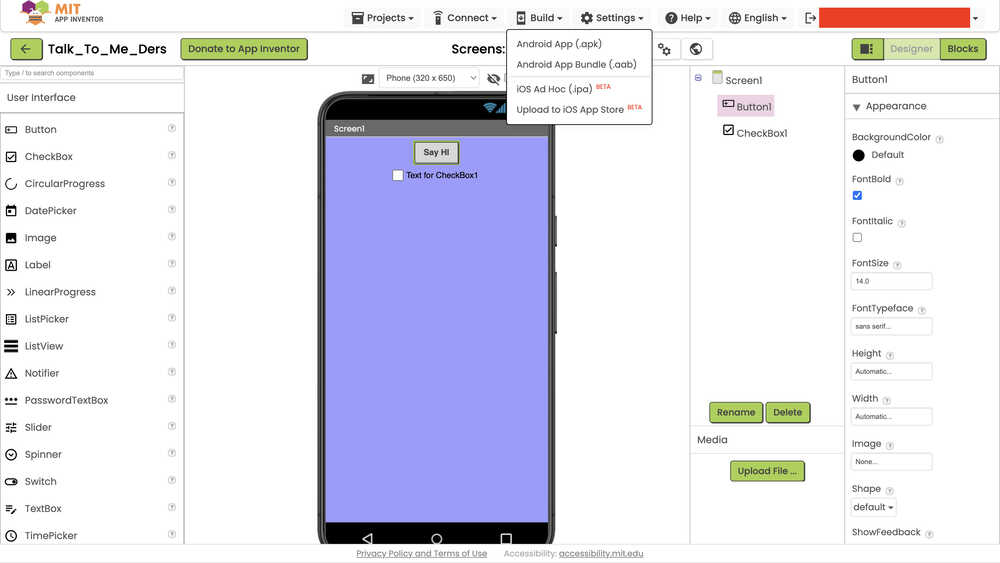
Then, you can build the actual app from the "Build" section.
Tkinter is a Python library for creating UI. You can download it along Python from this website. I recommend using the website itself and not other things such as Brew etc. since I had a problem with downloading from Brew since it didn't download Tkinter along with Python when I downloaded Python. I had to download again from the website.
This is a simple code that adds a blue button.
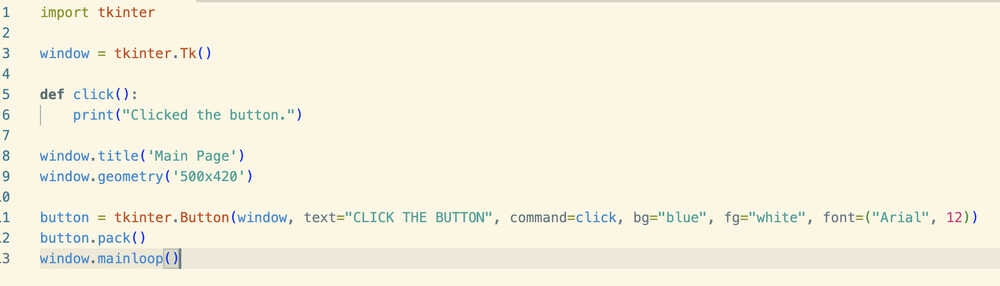
You can also add labels, input boxes etc. using Tkinter.
When the button is clicked, the text "Clicked the button." is printed to the screen.
I saved the file.
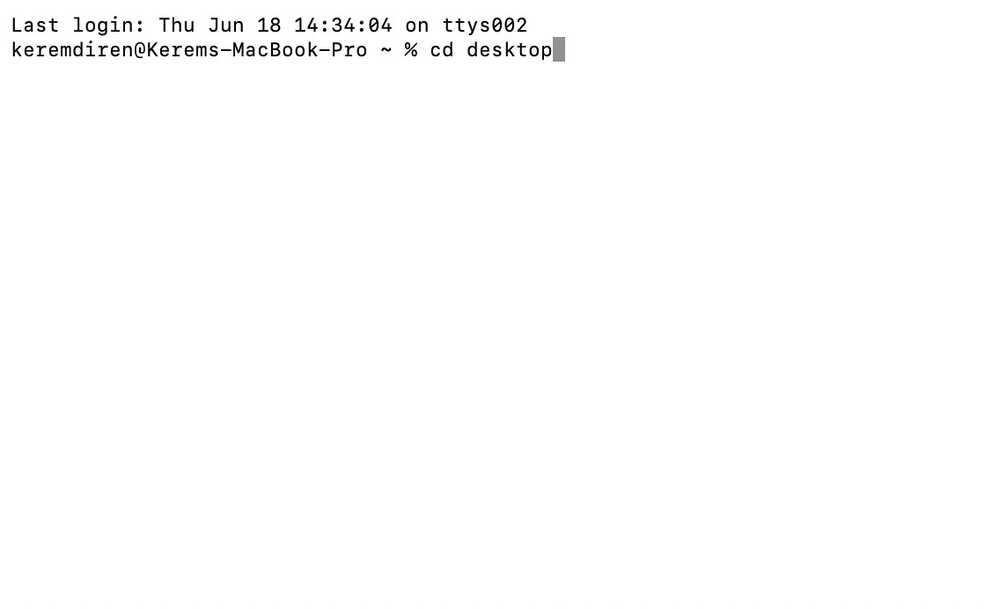
To open the UI, you should first change the directory to the one your .py file is located at.
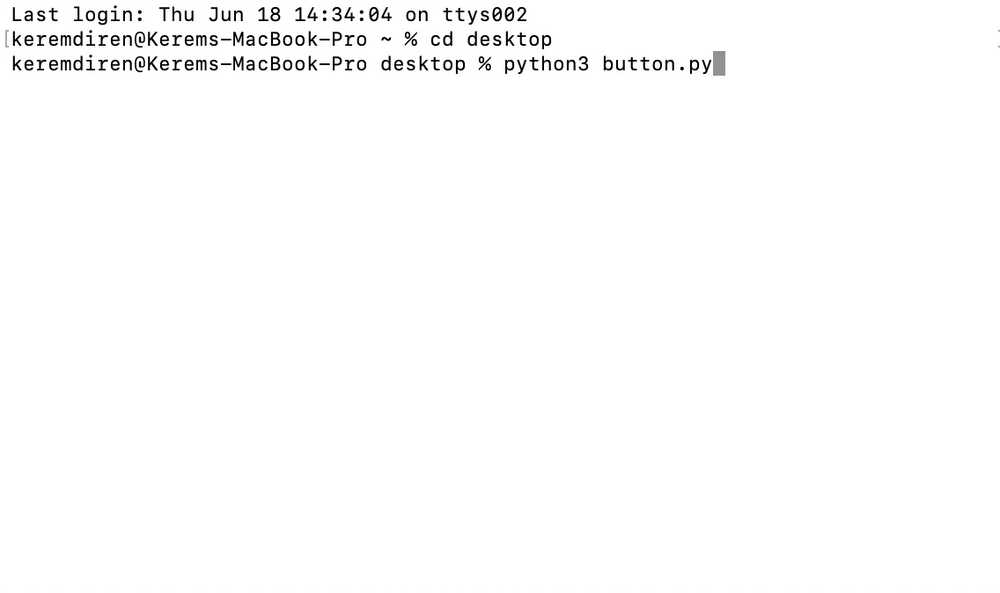
After that, you should write python3 and the name of the file after that to open the file.
You can see the UI in action in the video below.
From what I've seen, HTML gives much more control to the user, while App Inventor is much easier to use and beginner level. Tkinter, in terms of control and ease-of-use, seems to be between the other two. All three are good. Which program to use depends on the user's preferences and the nature of the thing the user's building (and where it is being built from).
Here are the files.